
WordPress Theme
How to set up and install your Facebook Pixel
Nov
In this guide, you’ll learn how to set up and install your Facebook Pixel. But first, let’s say a few words about the importance of this pixel for your business.
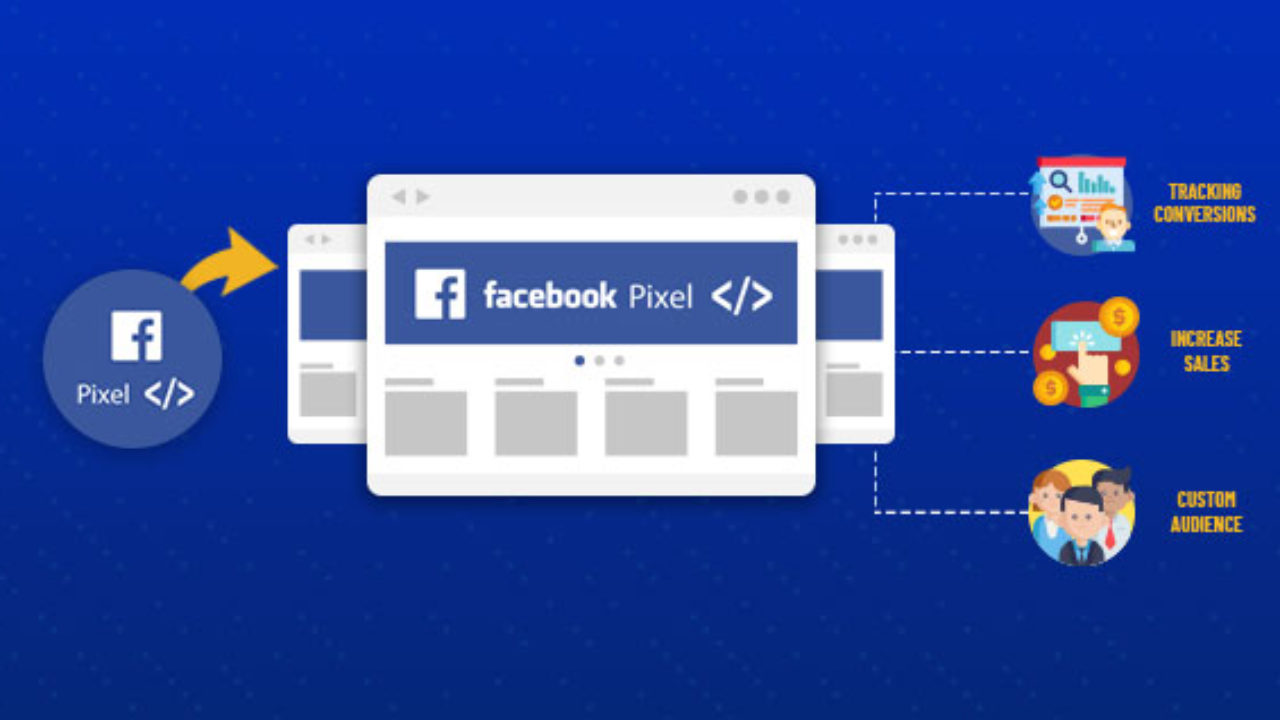
Creating a Facebook Pixel means you can apply a string of code on your website that allows you to measure the effectiveness of your ads. It makes you understand what actions people perform on your website. You can use the pixel not only to measure ad results but also to show ads to a certain target and to increase sales. It allows you to attract new customers by selecting people who perform a desired action or who have visited a certain page on the site or to configure an automatic offer by addressing users who could buy your products. The Facebook pixel, once configured, will record users’ actions on your website as completing a purchase or adding a product to your cart. You can see all of these actions in Event Manager on the FB pixel page, and you’ll be able to reach your customers again with future Facebook ads. With this tool you can improve your business by optimizing your advertising campaigns, retargeting and increasing conversions.
How to set up and install the Facebook pixel in 3 steps
The Facebook pixel is configured and installed following three steps.
Step 1
In the 1st step you will have to create your pixel by accessing Event Management and clicking on the green “+” sign located at the top. After ticking the “Web” item, you will have to click on Facebook Pixel, then on Connect.
Next, you’ll need to name your pixel and enter your site’s URL to check the simple pixel configuration options. Now it has been created correctly but it is not over. Click Continue.
2° step
After creating the pixel, you’ll need to add it to your website in step 2 to start tracking user visits. You can add it manually (if you have experience of codes or programming), by sending an email with instructions to a person who takes care of updating the codes on your site or through partner integration (selecting the pixel to configure and clicking on Use Partner if you have an app or an e-commerce).
Step 3
Installing the pixel base code on your website doesn’t mean you’ve done it. The 3rd step is missing, the last one, with which you will have to set the various actions and events for tracking conversions. For example, you can track users every time they add a product to their cart or wish list.
To make this setting, you can use Custom Conversions or Standard Events (events and actions recognized by Facebook in all its advertising products). For the various standard events there are different codes.
You will have to enter the reference code for the event on the web page of your interest or have it recorded when a certain action occurs (for example, the click on a particular button). Once you’ve set the pixel base code on your website, you can set up event tracking even without code with the event configuration tool.
Verification phase
After setting everything up, you should check the correct functioning of the Facebook pixel and event tracking. You can check through the pixel dashboard in Event Manager, which can report any anomalies. Another useful tool to be sure that the code has been loaded effectively on the right pages is Facebook Pixel Helper, a free Chrome extension.
If everything is working properly, you can feel ready to start creating and using Custom Audiences from your website by launching your own retargeting campaigns.
How to set up and install the Facebook Pixel with a plug-in
It is estimated that 98% of Facebook users do not exploit the pixel to its full potential. Not everyone is born a programmer and is able to enter codes manually; most people don’t even have time to find out what the potential of the FB pixel is.
Everyone, of course, dreams of increasing the quantity and quality of selected audience in order to increase ROAS and improve the performance of advertising on Facebook.
There is a plug-in that allows you to do this: it is called “Advanced Social Pixel” and was developed by NS Themes.
Using this plugin allows you to:
– Configure the pixel easily and quickly, in 60 seconds, by copy-pasting the Facebook Pixel code;
– Do not waste impressions to evaluate the performance of web content, exclude registered users or team members;
– Increase the match and size of your audience (forget about tracking-only cookies);
– Increase the quality of the audience by saving on conversion costs;
– Make an easy configuration of standard and custom conversions.
“Advanced Social Pixel” plug-in: advanced features
The “Advanced Social Pixel” plug-in offers you several functions:
– Advanced matching to allow Facebook to increase the size of your audience by transmitting profile data (name, phone, email, zip code, etc.);
– Delayed activation of the Pixel by scrolling the page or time on the page to increase the quality of your audience;
– Automated activation of standard events for WordPress and WooCommerce websites;
– Setting up custom conversions and tracking on Facebook for more precise measurement;
– Ability to add multiple pixels at once to easily manage all customers for better results with retargeting.
NS Themes allows you to test the plug-in for free by trying the functions of delayed pixel, advanced matching and exclude users: it does not require any coding.
With the Pro version, in addition to these features, you will discover advanced features, custom conversions, automated standard events, advanced WooCommerce integration, and the ability to add more pixels.